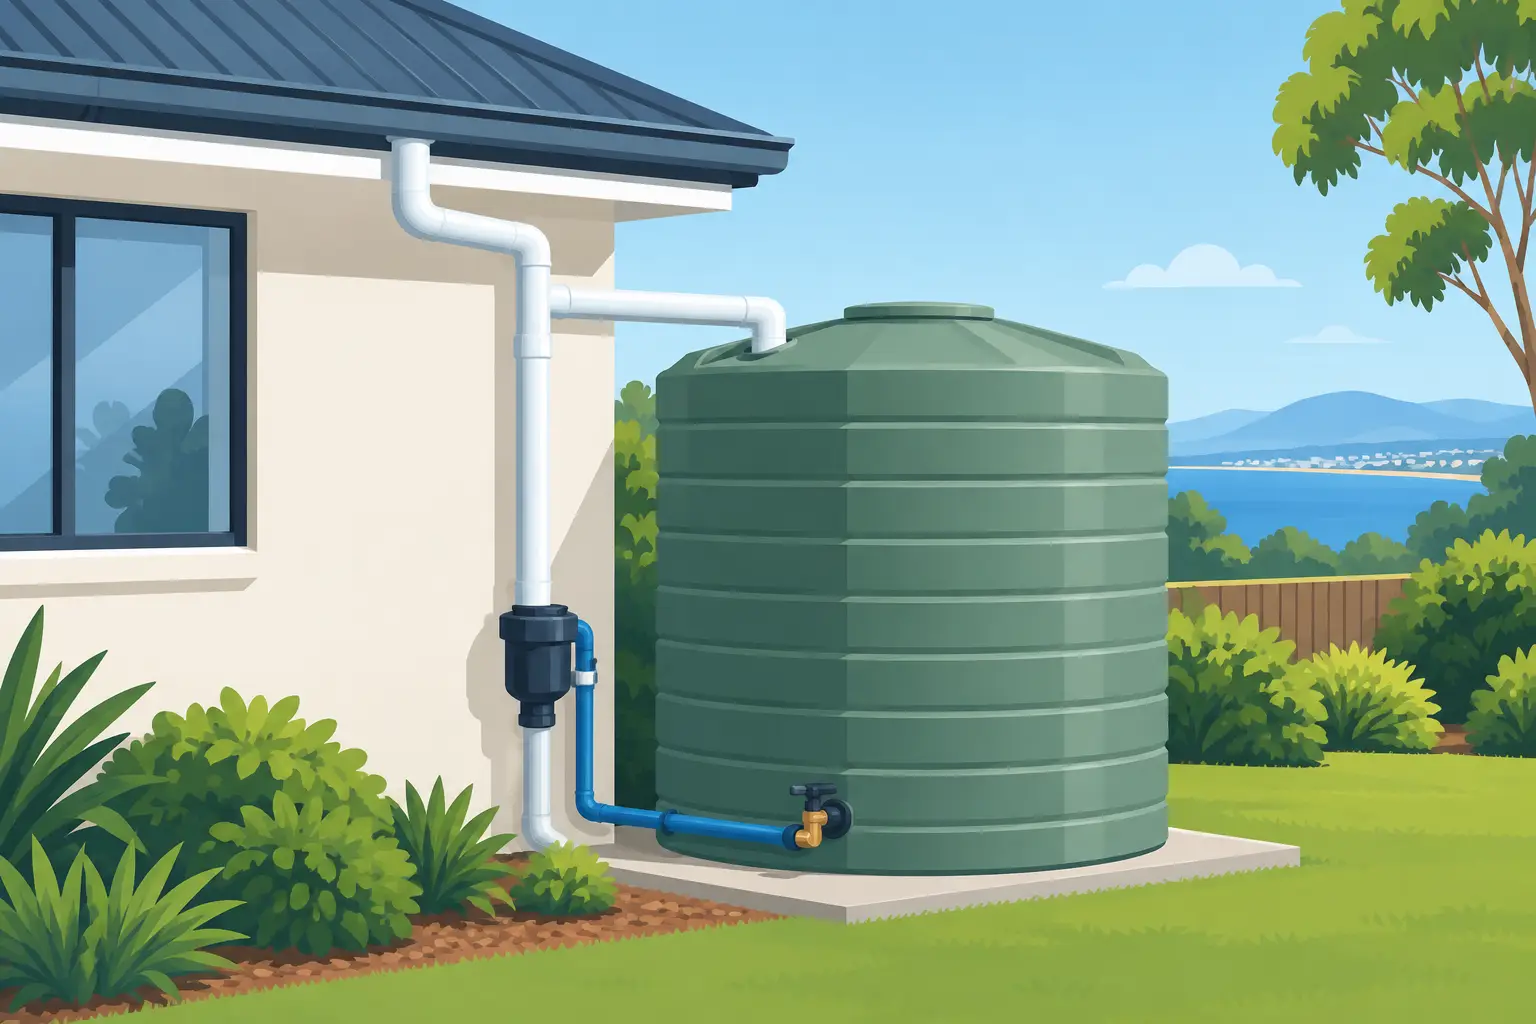
A rainwater tank can be a valuable part of your home’s water supply, but the tank itself is only one part of the job. A well-planned water tank plumbing guide starts at the roof and follows the water all the way to the tap, toilet, laundry or garden. Get the layout right at the beginning and you will have cleaner water, reliable pressure and much less maintenance down the track.
For Australian homes, the best arrangement depends on whether the tank supplies outdoor use only, selected fixtures, or the whole house. Local council requirements, state plumbing rules, roof area, rainfall and whether you have mains water all affect the final design. A licensed plumber should complete regulated connections, especially where rainwater is connected to internal fixtures or a mains water backup is involved.
Start with the intended water use
Before choosing pipe sizes or a pump, decide exactly where the harvested water will go. A simple garden-only system may use a tap at the tank and a small transfer pump. A household system usually needs a pressure pump, filtration, dedicated pipework and correctly installed backflow protection.
Rainwater is commonly used for toilets, washing machines, gardens and general outdoor cleaning. With suitable filtration and disinfection, it can also be treated for drinking water. The treatment level should match the use. Water for a hose does not need the same protection as water used for cooking, bathing or drinking.
A whole-house arrangement needs particular care. Every point of use must receive dependable pressure, and the plumbing must clearly separate rainwater lines from mains water pipes. This protects your household water supply and helps prevent cross-connections.
Water tank plumbing guide: the core layout
A typical rainwater system has a simple sequence: roof catchment, gutters and downpipes, leaf control, first flush diversion, tank inlet, storage, pump, filtration and points of use. Each component has a specific role, and skipping one often moves the problem further along the line.
Catchment, gutters and tank inlet
Your roof is the catchment area, so keeping it reasonably clean makes a real difference to stored water quality. Clear leaves from gutters, trim overhanging branches where practical and keep gutter guards in good condition. Bird droppings, dust, ash, insects and leaf matter all wash towards the tank during rain.
Water should enter through a screened inlet that keeps out mosquitoes, debris and vermin. The screen needs to be accessible for cleaning. Fine mesh is effective, but it can restrict flow if it is neglected, particularly after a storm or during heavy leaf fall. Choose a tank inlet arrangement that can handle the expected downpipe flow without backing water into the gutter.
A first flush diverter is a sensible addition for most roof-fed tanks. It diverts the first portion of rainfall, which typically carries the greatest load of roof debris and contaminants. The ideal diverter volume varies with roof area and local conditions. A rural property with dusty roofs or many surrounding trees may benefit from more first-flush capacity than a clean suburban roof.
Overflow is not an afterthought
Every tank needs a properly sized overflow. When the tank is full, water must leave safely without undermining the base, flooding neighbouring land or washing back towards the house. Connect the overflow to a lawful drainage point, stormwater system or suitable dispersal area as permitted locally.
Fit mesh to the overflow outlet to stop mosquitoes and pests entering the tank. Check that the overflow route remains clear. A blocked overflow can force water out through the inlet or tank lid during a big downpour, creating avoidable mess and strain on fittings.
Choose the right pump and pressure setup
A pump turns stored rainwater into a practical household supply. The correct choice is based on required flow, pressure, pipe length, elevation and how many outlets may operate at once. Bigger is not automatically better. An oversized pump can cycle excessively, create noisy pipework and waste power, while an undersized unit can leave showers weak when another tap is opened.
For many homes, an automatic pressure pump is the most convenient choice. It starts when water is demanded and stops when the tap closes. Locate it on a stable base close to the tank where possible, protect it from direct weather and leave room for servicing. A pump cover can reduce exposure, but it must still allow ventilation and easy access.
Use suitable pipework and fittings rated for the pressure and application. Long runs, small-diameter pipes and steep rises all reduce available pressure. Where the pump is drawing water from a tank outlet, a full-bore isolation valve and a union fitting make future servicing much easier. A check valve may be needed depending on the layout, but it should be installed for a clear reason rather than added by default.
If your system needs a mains water backup, do not simply join the two supplies. Australian plumbing requirements are designed to prevent rainwater from flowing back into the drinking water network. A licensed plumber can specify an approved rainwater-to-mains changeover arrangement, appropriate backflow protection and any required signage.
Filter rainwater for its intended purpose
A filter protects appliances, improves water appearance and reduces sediment reaching taps and valves. For general rainwater supply, sediment filtration after the pump is usually the starting point. A washable or replaceable pre-filter can catch larger particles before a finer cartridge filter.
For water used inside the home, a staged filter system is often a better long-term option. A sediment cartridge first captures grit, while a carbon cartridge can reduce tastes, odours and some organic compounds. Carbon filters are useful, but they are not a substitute for disinfection where microbiological safety is required.
For drinking water from a rainwater tank, UV disinfection is commonly used after effective sediment filtration. UV light works best when the water is clear enough for the light to penetrate, so correct pre-filtration is essential. The UV lamp and sleeve also need regular servicing. A system that has not been maintained may still look fine from the outside while delivering reduced treatment performance.
Reverse osmosis can be a useful point-of-use option for a dedicated drinking water tap, especially where a household wants a higher level of dissolved contaminant reduction. It is usually not necessary or economical for all household outlets. The right approach depends on your source water, household needs and preferred maintenance routine.
Plan access for maintenance
The most dependable systems are designed to be serviced without dismantling half the installation. Leave clearance around filter housings so cartridges can be changed. Install isolation valves before and after filtration equipment, and consider a bypass arrangement where appropriate so servicing can be managed safely.
Tank maintenance is equally important. Inspect inlet screens, overflow mesh, pump operation and visible fittings several times a year. After severe weather, check for damaged guttering, loose screens or unusual sediment. If water develops a smell, colour change or persistent cloudiness, investigate the catchment and filtration system before relying on it for household use.
Replacement cartridges, UV lamps and service kits should be changed to the manufacturer’s recommended interval, or sooner if water flow drops or water quality changes. Keeping a simple service record is helpful for households, rental properties and commercial sites alike.
Common plumbing mistakes to avoid
The most expensive faults are often small decisions made during installation. Avoid placing a pump where it is hard to access, reducing pipe diameter to save a little upfront, or burying fittings that may later need repair. Do not run untreated rainwater to drinking taps simply because the tank water appears clear.
Other common issues include an undersized overflow, no first flush device, poorly supported pipework and filter housings exposed to harsh sunlight. UV-stabilised components are helpful outdoors, but protection from weather and physical damage still extends the life of the system.
For new builds and larger upgrades, it pays to map the system before work begins. Mark the tank location, downpipes, overflow route, pump, filters, mains backup and every planned outlet. This gives your plumber a clear brief and makes future troubleshooting far easier.
A properly planned rainwater system should feel simple to use: clean water where you need it, steady pressure when you open a tap and straightforward servicing when the time comes. If you are unsure about pump sizing, filtration or a complete tank setup, expert advice before ordering can help you invest once and install with confidence.