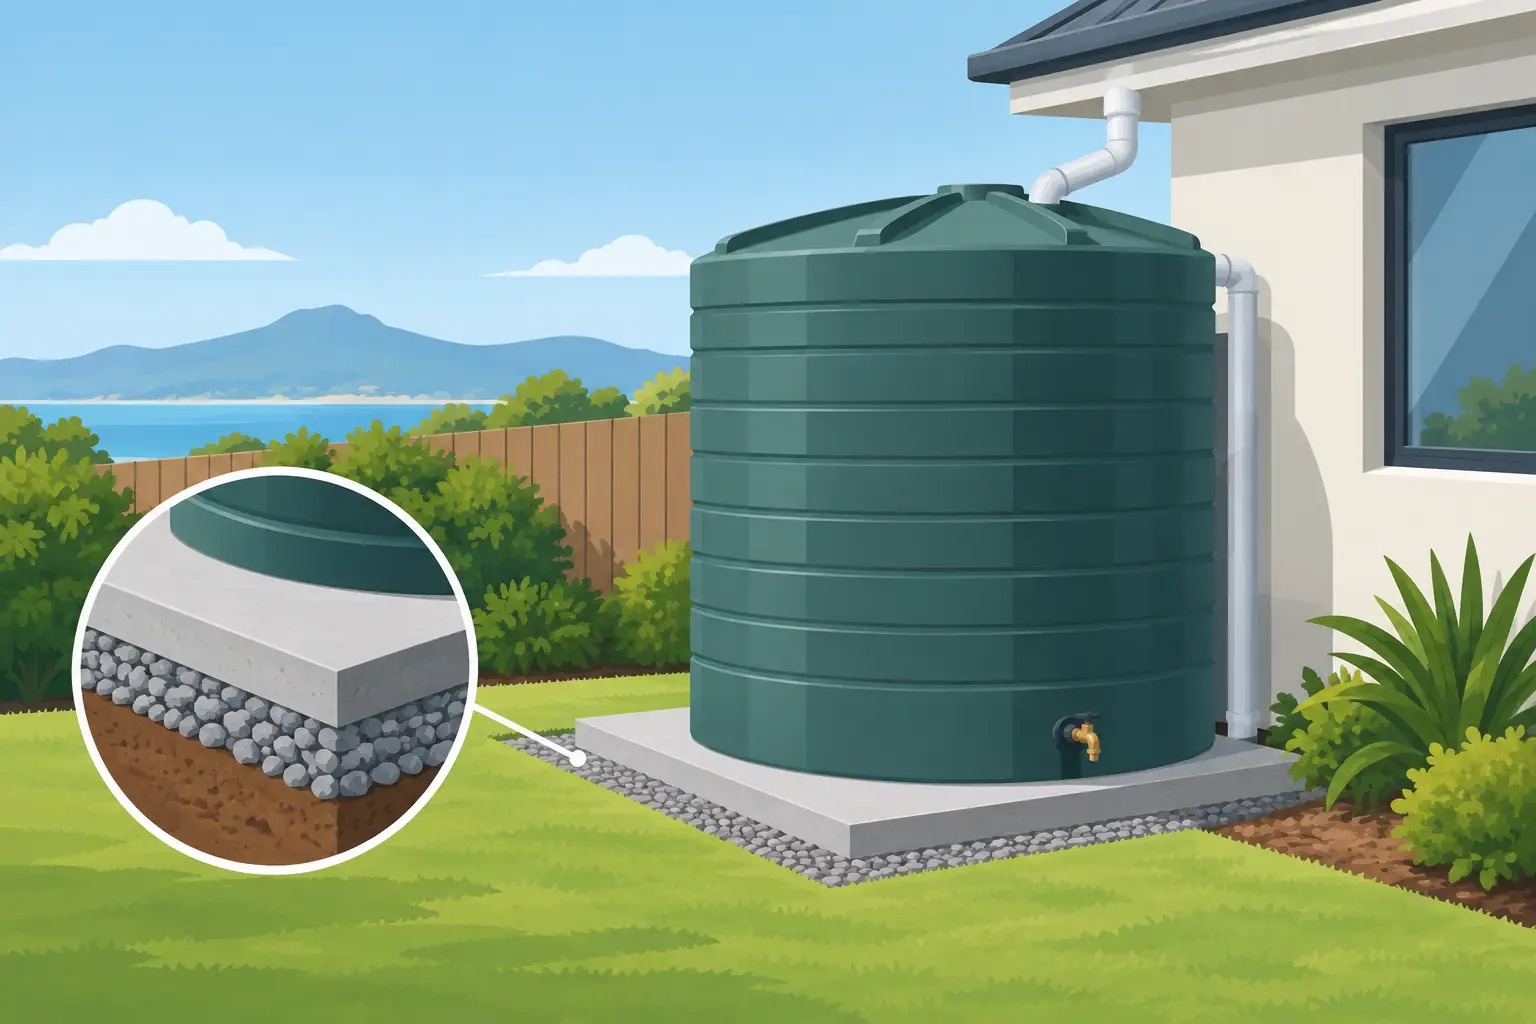
A rainwater tank can weigh many tonnes when full, yet the base beneath it is often treated as an afterthought. That is where costly problems start. This rainwater tank pad guide explains how to plan a stable, level and well-drained foundation that supports the tank, protects connected equipment and gives your household water system the long service life it is designed for.
The right pad is not necessarily the most expensive one. It is the one suited to your tank size, site conditions, soil type and manufacturer requirements. A small slimline tank beside a suburban home has different needs to a large round tank supplying an acreage property, pump and whole-house filtration system.
Why the tank pad matters
Water is heavy. One litre weighs approximately one kilogram, so a 10,000-litre tank holds about 10 tonnes of water before allowing for the tank itself. That load must sit evenly across the entire base. If one section settles, the tank floor can distort, fittings may strain and the water level may place uneven pressure on the wall.
An uneven base can also affect practical day-to-day operation. A tank outlet positioned too high because of a slope can leave water behind at the bottom. Poor drainage around the tank can create muddy access, encourage corrosion on metal components and make pump servicing less pleasant than it needs to be.
For households using rainwater indoors, a sound base also supports the wider system. Your pump, pressure controller, sediment filter and UV unit rely on a consistent water supply. Starting with a properly installed tank helps prevent avoidable plumbing and maintenance issues later.
Rainwater tank pad guide: choose the right base
Most domestic rainwater tanks are installed on a compacted crusher dust or road-base pad, a concrete slab, or an engineered base where site conditions demand it. The best choice depends on the installation rather than a one-size-fits-all rule.
Compacted road base or crusher dust
A compacted granular pad is a popular option for polyethylene rainwater tanks. It is economical, drains well when prepared correctly and can be shaped to provide full support under the tank floor. It is especially practical where a concrete truck cannot easily reach the site.
The key word is compacted. Loose material may look level on installation day but settle under a full tank. Build the pad in manageable layers and compact each layer with suitable equipment. The finished surface should be smooth and firm, without rocks, sharp material, hollows or ridges that could create point loading on the tank base.
Crusher dust can provide a fine, even top surface, but it should sit over a properly prepared and compacted structural layer. It is not a substitute for excavation, sub-base preparation and compaction where the ground is soft or reactive.
Concrete slabs
A concrete slab can be a sensible choice for slimline tanks, tanks installed beside buildings, or sites with limited room for a wider granular pad. It offers a clean, stable surface and makes it easier to position pumps and filtration equipment nearby.
However, a slab must be designed for the load and the site. Thickness, reinforcing, drainage and footing requirements vary. A slab that is too small, poorly reinforced or installed over unsuitable ground can crack or move. For larger tanks, reactive soils, sloping blocks or commercial installations, seek advice from a qualified concreter or engineer before work begins.
Do not assume an existing patio or driveway is suitable. It may not have been designed to carry the concentrated weight of a full rainwater tank, particularly over many years.
Engineered or raised foundations
Some sites need more than a standard pad. Steep ground, filled land, clay soils, flood-prone areas and locations with known drainage issues may require an engineered solution. This could involve retaining, piers, a reinforced slab or a designed platform.
Raised foundations can also help with gravity feed in specific setups, but elevating a tank adds structural risk. The higher the tank, the greater the consequences of movement or failure. Treat this as an engineering project, not a simple DIY modification.
Start with the site, not the tank delivery date
Before ordering materials or booking delivery, inspect the proposed location. Allow enough space around the tank for cleaning, plumbing, pump access and future maintenance. A tank squeezed tightly between a fence and wall can make a simple filter change or outlet repair unnecessarily difficult.
Choose ground that is naturally firm where possible. Avoid placing a tank over recently filled soil, tree roots, old stumps or an area that becomes boggy after heavy rain. If the site has a noticeable fall, do not try to compensate by piling loose material on the low side. Cut and prepare the ground properly so the base is stable from edge to edge.
Keep the tank clear of overhanging branches where practical. Falling limbs can damage the roof, leaf litter increases maintenance, and constant shade may keep the area damp. Consider the route for gutters, downpipes and overflow at the same time. Water should be directed away from buildings, neighbouring properties and the tank base.
Check local council rules, building requirements and property easements before installation. Requirements can vary between councils and may affect tank location, overflow management, setbacks and plumbing connections. Your tank manufacturer’s installation instructions should always take priority over generic sizing advice.
Build a pad with full, even support
A good pad extends beyond the tank footprint. The exact allowance should follow the tank manufacturer’s recommendation, but the tank must never overhang the edge of its base. Supporting only part of the floor can lead to distortion as the tank fills.
A practical installation process generally follows these steps:
- Mark out the tank location, including room for pipework, pump access and a clear delivery path.
- Remove grass, topsoil, roots and loose material until you reach stable ground.
- Establish a level subgrade, then install the selected base material in compacted layers.
- Check the finished pad in several directions with a long straightedge and spirit level.
- Confirm drainage routes before the tank arrives, including the overflow and any runoff from surrounding ground.
Level means level. A slight slope might not be obvious when the tank is empty, but it becomes significant once thousands of litres of water are pressing down on the base. Take time to recheck after compaction, as mechanical compaction can reveal low spots that need correction.
Avoid using timber sleepers, pavers, bricks or scattered concrete blocks as a tank foundation unless the tank supplier and a qualified professional have specifically approved the design. These materials can create uneven support and movement between contact points.
Plan drainage and plumbing together
The pad and the plumbing should work as one system. Rainwater tank overflow needs a planned discharge point that can handle heavy rainfall without washing away the pad edge or flooding the house area. Directing overflow onto the same soil beside the tank, especially on a slope, is a common cause of erosion and settlement.
Position the pump on a stable, accessible surface. It should be protected from weather where appropriate while still allowing airflow and room for servicing. Leave practical access to isolation valves, pressure controls and filters. If the tank supplies toilets, laundry, garden taps or the whole house, plan where a rainwater filtration system and UV disinfection unit will sit before the final pipework is installed.
For drinking water applications, filtration is not a substitute for a clean tank and sound catchment. A leaf diverter, screened inlet, mosquito-proof openings, first-flush arrangement where appropriate and regular tank inspection all help reduce sediment entering your filters. This can improve water quality and extend cartridge life.
Common pad mistakes to avoid
The most frequent issue is rushing the base because tank delivery is booked. Delivery dates matter, but correcting a failed foundation beneath a full tank is far more difficult than preparing it carefully beforehand.
Other avoidable mistakes include building a pad that is too small, using un-compacted fill, locating the tank where stormwater pools, and forgetting access for cleaning or pump replacement. Another is relying on visual judgement alone. Use proper levels and measure the finished area against the tank dimensions.
If your block has reactive clay, poor drainage, a steep slope or uncertain fill, getting site-specific advice is good value. It may add planning time, but it can prevent damage to the tank, nearby structures and connected water equipment.
A foundation for reliable water storage
A rainwater tank is a long-term investment in water security, whether it supplies a garden, rural home or a complete household system. The pad is the part nobody sees once the installation is finished, but it carries the entire load every day.
Prepare it carefully, follow the tank manufacturer’s requirements and plan drainage before the first drop enters the tank. With a stable base underneath and suitable filtration and pumping equipment alongside it, your rainwater system is far better placed to deliver dependable water for years to come.